
5 Steps to a Full Push-up
Do you dread the word ‘push up’? There is no denying that push ups are tough but they are definitely possible for all of us to do! Why not make it a challenge to be able to do a full push up in one month.
It will take lots of dedication and practice but what is more rewarding than achieving something that you didn’t think was possible?
Follow these 5 steps to a full push up equipped with practical tasks that you can do at home!
Step 1: Technique is key
When it comes to push-ups, correct technique is key! To perform a push up properly, it is important to know how to engage your abs, position your shoulders and hips, and breath correctly.
Common push-up mistakes include;
Rounded shoulders
Dropped head and neck
Dropped/sinking hips


Photographer: Dylan Brunt
Below are some technique cues to perform a full push up correctly;
Place your hands shoulder width apart
Set your shoulders back and down
Keep your body in one straight line and your hips lifted
Tuck your tailbone under and draw your belly button in towards your spine to engage your abs
Breath in as you lower down and breath out as you lift back up


Photographer: Dylan Brunt
It is now important to practice these technique cues before you get attempt a push up. Holding a plank position will help you build up core strength (which is required for a push up) and help you practice the technique cues I listed above. If you have a mirror, practice your planks next to a mirror, so you can visualise your technique.
Putting step 1 into practice:
Read through the technique cues again
Practice holding a plank for 10 seconds and repeat x10. Be aware of your posture and continually adjust yourself.
Step 2: Modify
Step 2 to a full push up requires you to use the technique cues that you learnt in step 1 and put them into practice! The good thing about push ups is that there are so many variations, which means you don’t need to launch straight into a full push up. Work your way through the following push up modifications, being aware of your technique and stop at the push up modification that you have trouble maintaining correct technique. Take note of the breathing cues below to help you with your push ups.
Putting step 2 into practice:
Incline push ups
How to:
Find a suitable incline i.e a bench, bar or table.
Place your hands shoulder width apart
Place your knees or feet on the ground, depending on the height of the incline
Engage your abdominals by drawing your belly button in towards your spine (like you are putting on a really tight pair of pants)
Breath in and lower your chest down, keeping your body in one straight line
Breath out and push back up

Photographer: Dylan Brunt
Table top push ups
How to:
Get into a table top position (otherwise known as a 4pt kneeling position). Your shoulders should be directly on top of your wrists and your hips should be directly on top of your knees.
Place your hands shoulder width apart and draw your shoulder blades down your back
Draw your belly button in towards your spine to engage your abdominals
Keeping your hips really still, breath in and bend your elbows, slowly lowering your chest down to the ground
Breath out and push back up

Photographer: Dylan Brunt
Knee push ups
How to:
Press your hips forward towards the ground to bring your shoulders hips and knees into a straight line (make sure you don’t let your hips drop down too low)
Tuck your tailbone under and draw your belly button in towards your spine to engage your abdominals.
Place your hands shoulder width apart and draw your shoulder blades down your back
Breath in to lower your chest down towards the ground
Breath out and push back up
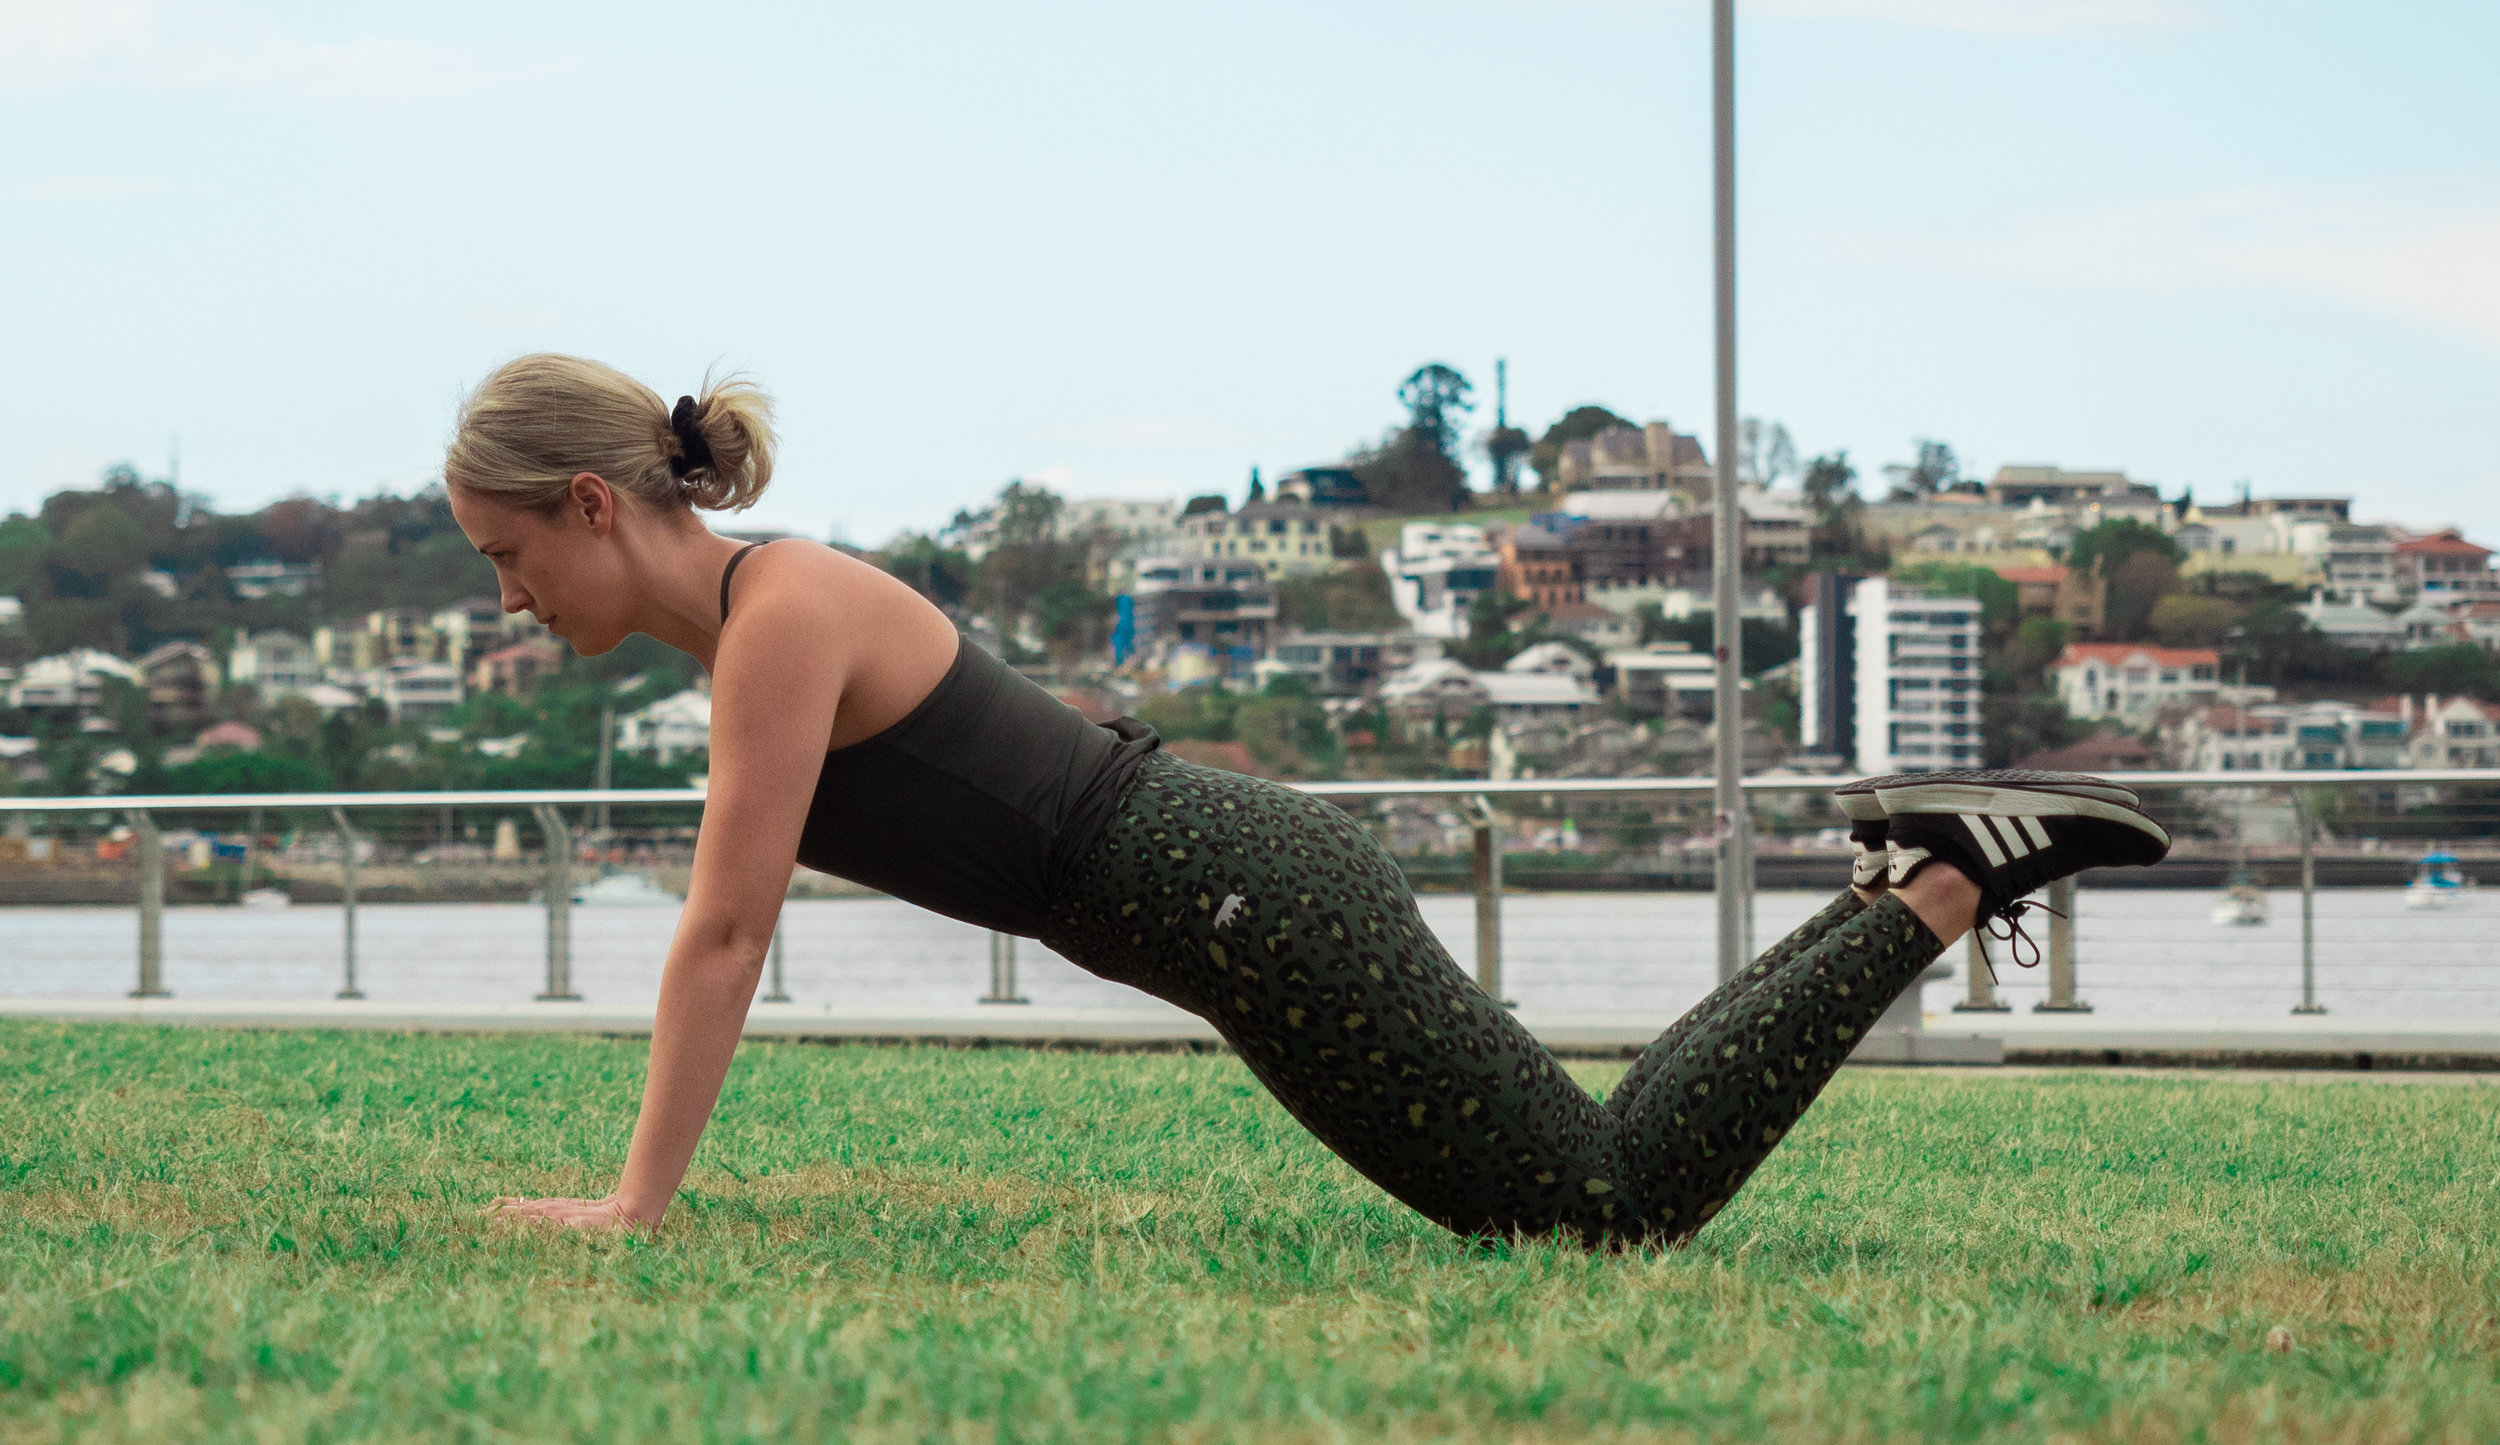
Photographer: Dylan Brunt
Step 3: Stick to the negative
Step 3 is all about the negative - the negative phase of the push up that is!
The negative phase (also known as the eccentric phase) is the lowering part of a push up. There is huge potential to build up strength during this eccentric phase and so I encourage you to give it a go in preparation for a full push up.
Putting step 3 into practice:
Practice the lowering phase of a push up x15 and count in your head 5 seconds to lower down. Practice this 4 times/week for 1 week.
How to:
Start in a full push up position with your hands shoulder width apart and knees off the ground.
Draw your belly button in towards your spine to engage your abdominals
Keep your body in one straight line and slowly lower down towards the ground. Fight the drop and control the movement to avoid collapsing!
Avoid sinking your hips down towards the ground. This will only make it harder for you to lower down.
Pick yourself back up and keep practicing! Don’t worry if you can’t make it all the way down at first! Keep practicing and you will get there!

Photographer: Dylan Brunt
Step 4: Reps, reps and more reps
Ok so let’s take a moment to reflect on your progress so far! You now have your technique down pat, you know how to do all kinds of push up modifications and you have practiced negative push ups. That’s huge progress!
It is now time to practice…a LOT!
Putting step 4 into practice:
Practice your push up modifications. Try a different modification each day and aim for 3 sets of 15 reps 4-5 times/week for a minimum of 2 weeks.
Step 5: Give it a go!
Its time!
You’ve got this.
All I want you to do is 1 full push up.
Promise me that you will not get put off if you can’t do it! Push ups are a difficult exercise and it takes time. If you can’t do your full push up, repeat step 4 and then try again. After all, nothing worthwhile comes easy!
Putting step 5 into practice:
Attempt a full push up, rest and then complete the rest of your set with a modified push up. Complete 3 sets of 12 reps (1 full push up, 11 modified push ups)
Next session – complete 2 full push ups, rest and then complete the rest of your set with a modified push up. Complete 3 sets of 12 reps (2 full push ups, 10 modified)
Each session after that, aim to complete 1 extra full push up and thereby reducing the amount of reps you do in a modified position.

Photographer: Dylan Brunt
Best of Luck!
Alex Richardson
BIO
Alex is a Registered Nurse and qualified Pilates Instructor who has combined her love of Pilates and experiences as a Nurse, to form a passion for educating and inspiring people to use movement as a preventative to many health problems.
With a purpose to improve lives through movement, Alex created Duo Pilates; a Pilates studio based in Brisbane. More recently she has expanded the Duo Pilates brand online with an online E-book called ‘The Duo Pilates Method’, a 12 Week Pilates workout program that you can do from home.
She believes that in order to train our body the right way, we first need to train the mind to acquire body awareness.
You can follow Alex on social media or get in contact with her using the details below.
Alex Richardson / Owner of Duo Pilates
INSTAGRAM: @duopilatesau
FACEBOOK: /duopilatesau
EMAIL: alex@duopilates.com.au
WEBSITE: https://theduopilatesmethod.com.au/

